Clear Bra Installation: What to Expect at the Shop
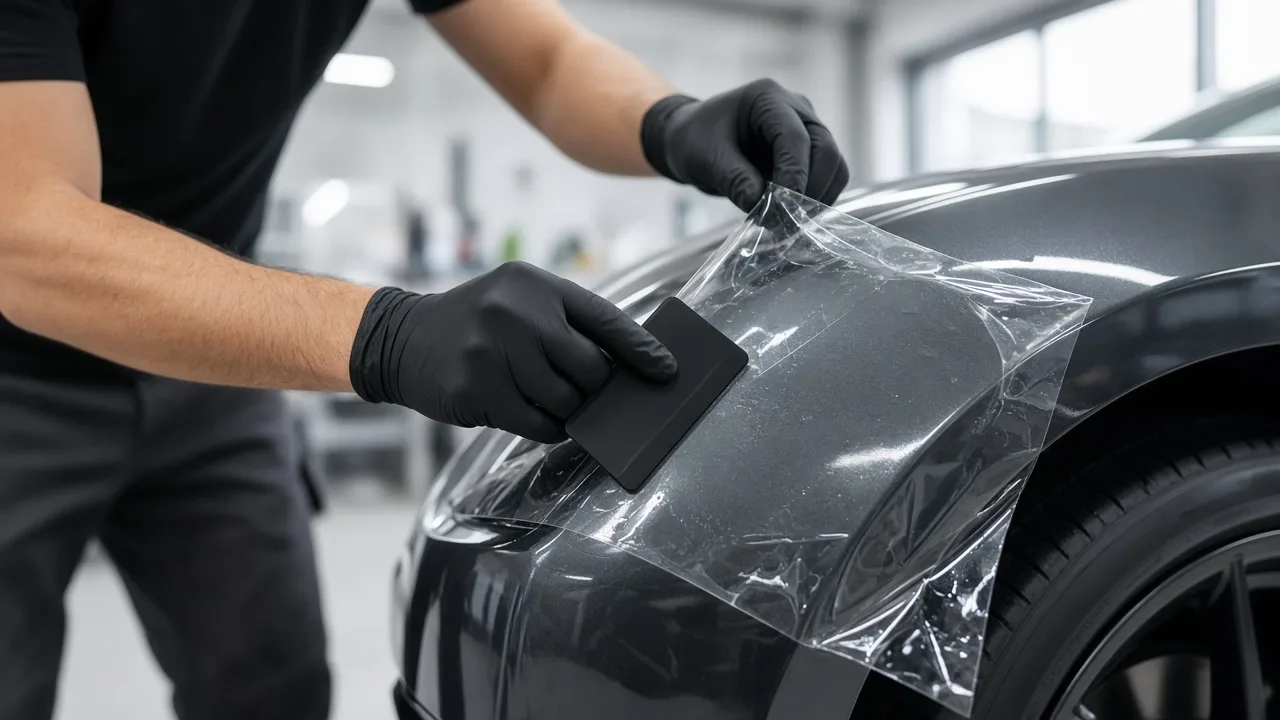
From drop-off to cure time, here is what happens during clear bra installation: paint prep, pattern cutting, wrapping edges, and how to care for fresh PPF on the drive home.
Booking clear bra installation feels opaque when you have never watched urethane go on wet. Knowing the steps—prep, cut, squeegee, cure—sets realistic timelines and helps you spot a professional shop versus a rushed job. Here is what to expect from consultation through the first month with fresh paint protection film.
Before drop-off: consultation and scope
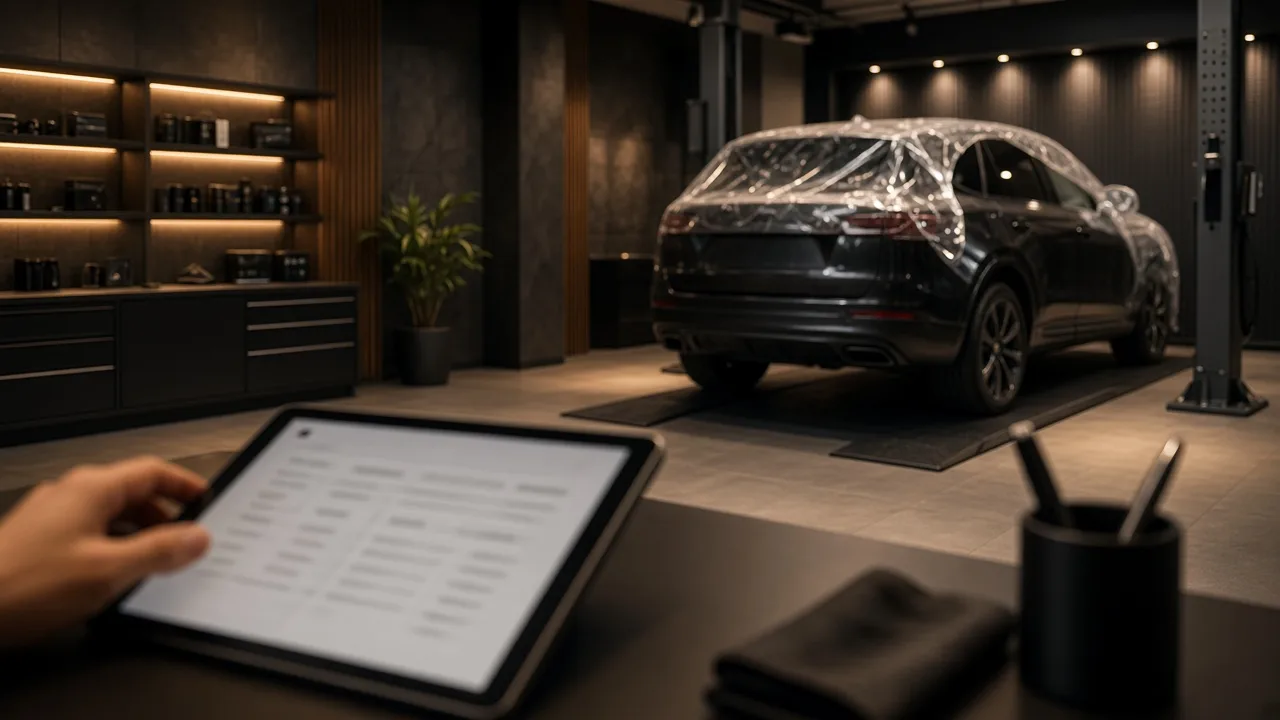
Your project should start with a written panel list, film brand and product line, and discussion of paint correction needs. Walk the car under good light with the installer to flag existing chips, dents, or prior repaints. ADAS sensors, aftermarket lips, and vinyl badges affect patterns—disclose mods upfront.
Schedule when you can leave the vehicle uninterrupted. Same-day partial jobs exist, but quality full-front work rarely thrives on rush promises. Confirm loaner policies, indoor storage, and how they handle delays from discovery of hidden paint damage.
Paint preparation and decontamination
Film magnifies every swirl trapped beneath it. Shops wash, clay or chemically decontaminate, and polish to an agreed correction level. Some defects are intentionally left documented if fixing them risks thin clear coat. This stage separates serious installers from tape-and-hope operators.
Isopropyl or dedicated panel prep removes oils before adhesive touches paint. Environment matters: climate-controlled, filtered air reduces dust inclusions. If your car is installed in an open bay on a windy day, ask about contamination policy before paying.
Pattern cutting and application workflow
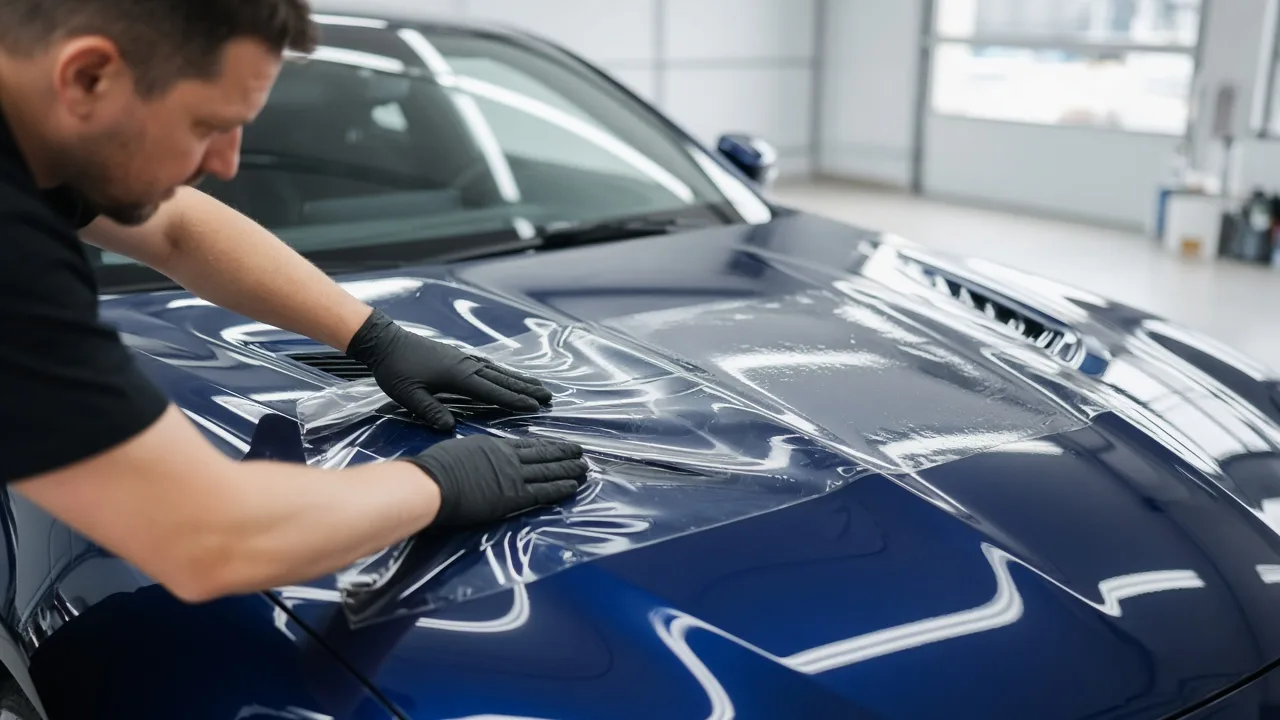
Computer-cut patterns from manufacturer databases reduce knife work on paint. Installers lay slip solution, position the panel, and squeegee from the center outward to evacuate fluid. Heat guns gently stretch film around compound curves, mirror shells, and bumper edges.
Hand trimming happens at seams and complex areas plotters cannot perfect. Skilled techs wrap edges around hood lips and door jambs where packages include it—wrapped edges hide adhesive lines and reduce dirt lift. Watch for consistent relief cuts that allow film to sit flat without tenting.
Quality check and delivery walkthrough
Before you arrive, the lead installer should inspect under mixed lighting for lift points, contamination specks, and alignment at body lines. At pickup, expect a walkthrough of cured versus wet areas, wash waiting period, and warranty registration steps you must complete online.
Photograph the vehicle at delivery for baseline condition. Note any acceptable minor moisture haze they say will cure. Do not accept unwrapped edges you paid to wrap or misaligned headlamp pieces without a remediation plan dated on paper.
First-week cure and driving guidelines
Adhesive continues bonding after the car leaves the shop. Avoid pressure washers on film edges, aggressive scrubbing, and parking under sap-heavy trees the first week. Small bubbles often flatten as moisture escapes—track them rather than popping film.
Highway speeds are usually fine same day for many shops, but confirm locally. Garage parking in heat helps initial cure. If you see edge lift near mirrors or bumper corners, book adjustment quickly before contamination wedges underneath.
Long-term care after clear bra installation
Switch to film-safe shampoo, two-bucket washes, and soft drying towels. Automatic brushes remain risky even with PPF—they can mar the top coat or catch edges. Annual inspections with your installer catch problems while warranties still apply.
When choosing where to book, prioritize documented process over lowest price. find PPF installers on BizMox to compare shops that explain prep, cure, and warranty support clearly in reviews and service listings.
What to bring and how to communicate
Bring insurance and registration if the shop requests VIN verification for warranty registration. List aftermarket parts, recent paintwork, and ceramic coatings applied elsewhere. Note squeaks or trim issues—they may affect masking time. Set a reachable phone number for mid-job questions about discovered paint flaws.
Clarify who drives the vehicle in and out if you use a concierge service. Confirm indoor parking overnight if multi-day installs extend because of weather or parts delays.
When to call the shop after pickup
Contact them if edges lift within the first week, bubbles grow instead of shrinking, or ADAS warnings appear after camera zone work. Early adjustments are faster than waiting until contamination spreads. Do not attempt DIY knife work on lifting corners—you risk slicing paint beneath urethane.
Normal healing timelines vary by temperature; ask for written guidance on when worry is warranted versus patience. Keep a photo log at day three, seven, and thirty for comparison if you need warranty support later.
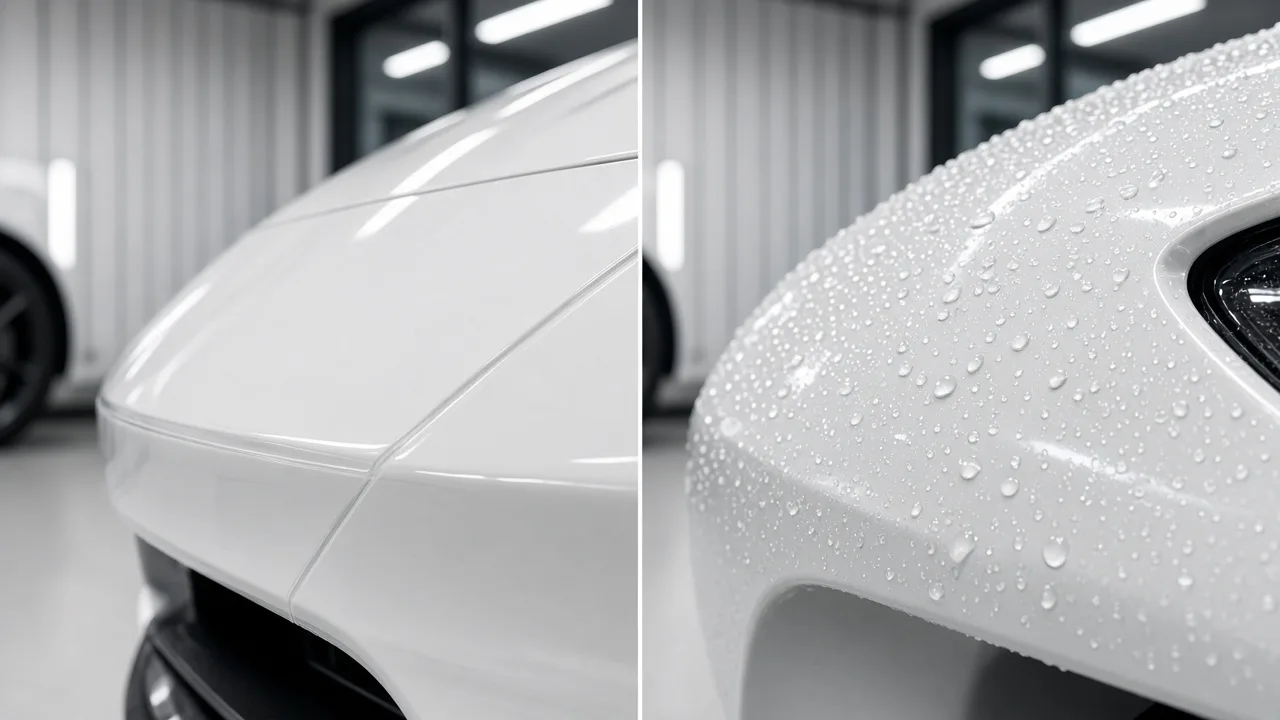
Plan your first post-cure wash as a learning session: note how water sheets on film versus bare paint, which edges you must avoid with pressure, and how long drying takes. That fifteen-minute routine pays dividends for years of chip-free confidence on daily drives.
If the shop offers a post-install check-in at thirty days, take it—small edge lifts corrected early stay inexpensive. Skipping that visit to save time often turns a five-minute fix into a full panel replacement after grit works under the urethane.
Keep the installer’s care sheet in your glovebox or phone notes so family members who wash the car follow the same cure rules—you protect both the film and the workmanship warranty when everyone uses the same safe process.
You are ready: Arrive informed, leave with paperwork and photos, and follow cure rules religiously the first month. Clear bra installation is meticulous work—when done right, you drive away with invisible armor and a maintenance plan that keeps it that way for years.
Frequently Asked Questions
Comments (0)
Leave a Comment
You need to be signed in to leave a comment.
Sign in to comment